pybullet is a simple Python interface to the physics engine Bullet. It is easy to install (via pip install pybullet) and use and it is yet a powerful tool. This article will give a brief glimpse at what you can do with it. A more detailed guide can be found in the pybullet quickstart guide. A great overview of the new features of Bullet 2.87 can be found here. It might become the de facto standard simulation environment for reinforcement learning in the next years.
import pybullet
Starting the simulation is dead simple...
pybullet.connect(pybullet.GUI)
# without GUI: pybullet.connect(pybullet.DIRECT)
You can reset the simulation to its original state whenever you want which makes it appealing for all kind of reinforcement learning algorithms. After resetting the environment, all models have to be recreated. Hence, it makes sense to move all initialization / reset code to one function.
pybullet.resetSimulation()
Why should this be surprising? For example, I could not yet figure out a way to reset Gazebo simulations properly. Although Gazebo internally just uses other physics engines and one of them is Bullet. Part of the problem are the controllers that are used in ROS.
pybullet can load kinematic descriptions of robots or other objects from URDF files. You could also create your robot manually with a bunch of function calls but you usually don't want that because there are so many tools that support URDF, for example, inverse kinematics solvers, visualization tools, etc. Other supported formats are Bullet's own format, Gazebo's SDF, and MuJoCo's MJCF files. These support multiple objects and allow you to load entire simulation scenarios at once. pybullet also comes with some objects that are often useful, for example, a plane:
import pybullet_data
pybullet.setAdditionalSearchPath(pybullet_data.getDataPath())
plane = pybullet.loadURDF("plane.urdf")

Let's load some more complicated object: ROS-Industrial has some URDFs for Kuka robots.
import os
# this may take a while...
os.system("git clone https://github.com/ros-industrial/kuka_experimental.git")
robot = pybullet.loadURDF("kuka_experimental/kuka_kr210_support/urdf/kr210l150.urdf")
Now we can explore the world a little bit in numbers. For example, we can request the position and orientation of the robot in the world.
position, orientation = pybullet.getBasePositionAndOrientation(robot)
orientation
Orientation is usually given in quaternions (x, y, z, w).
We can ask for the number of joints of the robot.
pybullet.getNumJoints(robot)
The arm does not really have 8 joints. It has 6 revolute joints and 2 fixed joints.
We can request information about each joint.
joint_index = 2
joint_info = pybullet.getJointInfo(robot, joint_index)
name, joint_type, lower_limit, upper_limit = \
    joint_info[1], joint_info[2], joint_info[8], joint_info[9]
name, joint_type, lower_limit, upper_limit
There are more information in the tuple returned by pybullet.getJointInfo(...).
We could as well request the current state of each joint, for example, the positions.
joint_positions = [j[0] for j in pybullet.getJointStates(robot, range(6))]
joint_positions
... or we could ask for the current position of a link.
world_position, world_orientation = pybullet.getLinkState(robot, 2)[:2]
world_position
There is probably much more you could ask for. ;)
Let's set up the simulation:
pybullet.setGravity(0, 0, -9.81)   # everything should fall down
pybullet.setTimeStep(0.0001)       # this slows everything down, but let's be accurate...
pybullet.setRealTimeSimulation(0)  # we want to be faster than real time :)
Let's give the robot something to do. We will set the desired joint angle. There are other control modes: velocity control and torque control.
pybullet.setJointMotorControlArray(
    robot, range(6), pybullet.POSITION_CONTROL,
    targetPositions=[0.1] * 6)
Now, we can step through the simulation:
for _ in range(10000):
    pybullet.stepSimulation()
The robot moves, but it will almost fall over. What happened? Well, we forgot to attach it to the ground! Let's do that now:
pybullet.resetSimulation()
plane = pybullet.loadURDF("plane.urdf")
robot = pybullet.loadURDF("kuka_experimental/kuka_kr210_support/urdf/kr210l150.urdf",
                          [0, 0, 0], useFixedBase=1)  # use a fixed base!
pybullet.setGravity(0, 0, -9.81)
pybullet.setTimeStep(0.0001)
pybullet.setRealTimeSimulation(0)
pybullet.setJointMotorControlArray(
    robot, range(6), pybullet.POSITION_CONTROL,
    targetPositions=[0.1] * 6)
for _ in range(10000):
    pybullet.stepSimulation()
It works. ;)
Apart from that, like in every good physics simulation, you can
- add a force/torque sensor for each joint
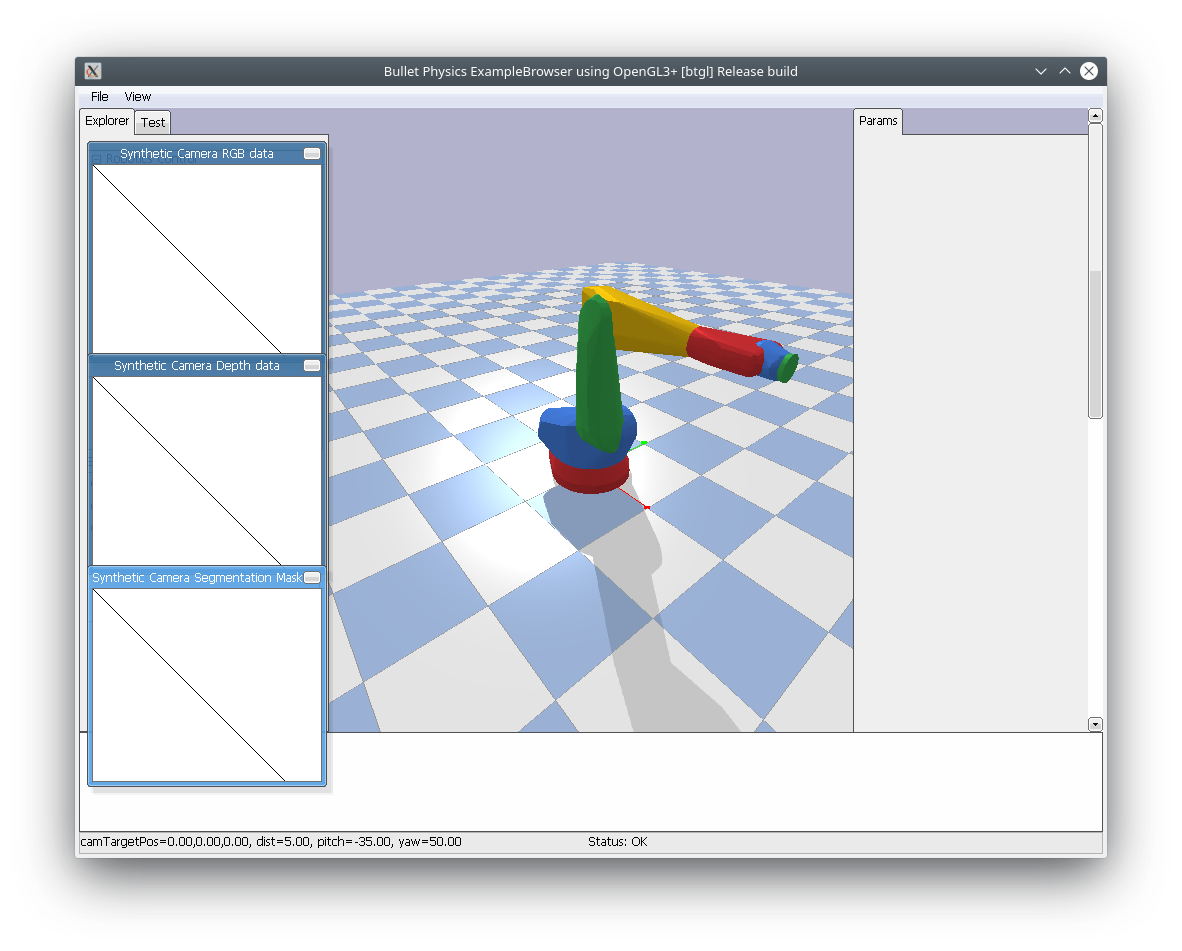
- add cameras, you can even get a depth image and a segmentation mask (the object ID for each pixel) from the camera
- detect collision between objects
- show debug information in the GUI
pybullet.disconnect()
Setting up a simulation environment for a robotic scenario has never been so easy. ;)